Kayak fishing is a very popular pastime for many anglers, and if you’re one of them, you’ve probably looked at fish finders in the past. You may be interested in investing in the best kayak fish finder you can find, but it’s important to first know exactly how to use one. That’s what this article is for, so keep reading. We’ll discuss how you can effectively use a fish finder when you’re out kayak fishing.
Getting to Know Your Fish Finder
Learning the basics of a fish finder is a straightforward process. The majority of units are designed to be user-friendly, requiring only a simple power-on and immediate use for fishing. Nevertheless, some anglers may prefer to optimize the performance by adjusting settings such as gain, speed, and colors.
On a fish finder, the gain setting controls the sensitivity of the receiver. Increasing the gain reveals more detailed information. In situations involving deep or murky water, reducing the gain helps minimize clutter and noise.
The speed setting determines how quickly the sonar images move across the screen. A slower speed provides enhanced detail, but if the boat’s speed increases, the images may appear blurred. Irrespective of whether the sonar image is grayscale or color, variations in shading or colors indicate the target’s density.
Fine-tuning the color contrast allows for much better definition of the image. Additionally, adjusting the depth or utilizing a split screen can zoom in on a specific area of interest within the image.
Reading Your Fish Finder
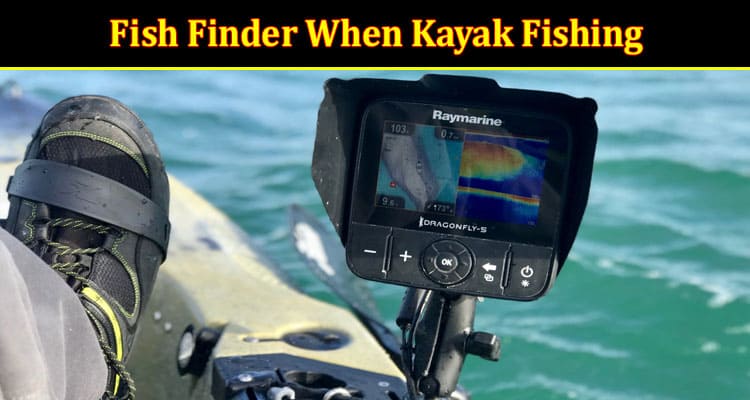
On a grayscale fish finder, variations in target density are displayed through different shades, while a color fish finder represents them using various colors. For instance, a hard and rocky bottom will appear as a distinct shade or color compared to soft mud. Additionally, certain fish species may produce darker marks on the display than others.
By reading the colors displayed on the fish finder, anglers can interpret the signals and gather valuable information. Adjusting the color scheme to achieve the highest contrast image helps make it easier to identify bottom features and fish. When you become proficient at reading the colors, you can effectively utilize a fish finder to enhance your fishing experience.
What Fish Look Like On A Fish Finder
Eventually, when you’ve learned to read your fish finder, you’ll be able to tell different fish species from each other. Yes, you’ll be able to tell crappie from perch, and sea bass from spadefish.
When displayed on the screen, fish typically appear as arched shapes, while a school of baitfish will appear as a large, amorphous blob. Each fish species tends to produce a distinctive signal. By marking the presence of fish on the display and subsequently catching them, anglers can familiarize themselves with the appearance of different species.
A layer of lighter marks positioned near the darker bottom can indicate the presence of fish dwelling in deeper waters. If the screen displays light static, it may suggest the existence of a thermocline, which is a region where the water temperature undergoes a significant change.
Locating The Hard Bottom On Your Fish Finder
When using a grayscale display, a hard bottom will typically appear as dark gray or black. However, when using a color fish finder, the hard bottom will be depicted as the brightest red. In contrast, a shipwreck or reef will stand out as a dark hump rising off the bottom.
By marking the presence of fish on the display and subsequently catching them, anglers can gain a better understanding of how different species appear on the fish finder’s display. This hands-on experience helps in recognizing and distinguishing the signals associated with various fish species.
A fish finder is a truly irreplaceable gadget for all anglers, whether they enjoy standing on the shore or prefer their kayak. You can install a fish finder on your kayak and enjoy a much more satisfying fishing experience the next time you cast your line.