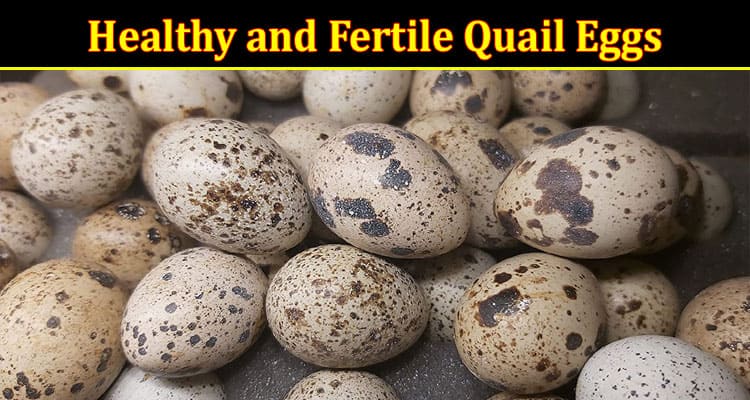
Quail farming is an eco-friendly agricultural practice that offers an abundant yield of highly nutritious eggs. Ensuring these are healthy and fertile is crucial for successful incubation. With the appropriate knowledge and care, anyone can achieve the best results in fertilized quail eggs incubation.
Understanding Quail Egg Fertility
Fertility in quail eggs is the cornerstone of successful incubation. Fertile products carry the potential to develop into healthy chicks. Factors such as the parent birds’ age, diet, and environment can influence fertility.
Health and Age of the Parent Birds
Healthy parent birds are more likely to produce fertile eggs. Regular health checks are therefore essential. The age of the parent birds also plays a role. Quails reach sexual maturity at around six to eight weeks, and their fertility rate stays high until they’re about a year old.
Diet and Environment
Providing a balanced diet to the parent birds is critical to ensuring the fertility of quail eggs. For strong eggshells, the diet should be rich in proteins, vitamins, and minerals, especially calcium. Also, the environment should be stress-free, clean, and spacious enough for the birds to move around freely.
Pre-Incubation Care
Once you have fertile eggs, the next step is to prepare them for incubation. Proper handling and storing them can significantly increase the hatching success rate.
1. Handling
They should be handled with clean hands to avoid transferring bacteria or oils that might block the pores of the eggshell, hindering the embryo’s development. It’s advisable to collect the eggs at least twice a day.
2. Storing
If not incubated immediately, they should be stored in a cool, humid place. The pointed end should be down, with the broader end slightly elevated. Regularly turning them during storage can also help maintain their viability.
Incubation Process
After ensuring the products are healthy and fertile, the incubation process begins. The conditions in the incubator must be optimal for successful hatching.
1. Temperature and Humidity
The temperature inside the incubator should be around 99.5°F (37.5°C) for forced air incubators and slightly higher for still air incubators. The humidity should be approximately 45-50% for the first 15 days of incubation and should be increased to 65-75% in the last three days.
2. Ventilation
Proper ventilation is vital for the development of the embryo. The incubator should have vents to allow a continuous fresh air flow and to let out excess heat and humidity.
3. Turning the Eggs
Turning them is essential to prevent the embryo from sticking to the shell. Automated incubators can handle this task, but turning the fertilized quail eggs at least three times a day is recommended if you’re incubating manually.
Post-Incubation Care
Once the eggs hatch, the newborn chicks require special care to ensure their survival and growth.
1. Brooding
The chicks should be moved to a brooder—a warm, safe growing place. The temperature should be approx. 95°F (35°C) the first week and gradually reduced as the chicks grow.
2. Diet and Water
Chicks need access to clean water and a balanced diet from day one. Start with a starter feed rich in proteins, vitamins, and minerals. You can gradually introduce them to the same diet as the adult quails.
In conclusion, ensuring the health and fertility of quail eggs is a comprehensive process that extends beyond the confines of egg selection. It involves meticulous attention to the diet, environment, and health status of the parent quails, careful handling and storage of the products, and diligent monitoring of incubation conditions. It doesn’t stop there, as the post-incubation care of chicks is equally essential. By adhering to these guidelines, you can set the stage for successful incubation, leading to healthy chicks’ growth and thereby contributing to the sustainability and productivity of your quail farming endeavor.

