With over 2 billion active monthly users, YouTube is one of the most popular video-sharing platforms. As such, it offers content creators the opportunity to reach a vast audience, connect with viewers, and even earn a living. However, to succeed on YouTube, your videos need to be of high quality, engaging, and visually appealing. That’s why editing your videos before uploading them is critical. In this article, we’ll take you through the steps of editing videos for YouTube, including how to rotate video online.
Steps of editing videos for YouTube
Step 1: Planning Your Video
Before you start recording your video, you should spend some time planning it. Planning is critical to producing a quality video that will appeal to your viewers. Consider what type of video you want to create, what story you want to tell, and what message you want to convey. You should also consider the length of your video and the equipment you’ll need to record it.
Step 2: Record Your Video
Once you’ve planned your video, it’s time to start recording. Before you begin, ensure that your camera settings are correct, and that you have enough storage space to record your video. It’s also important to consider lighting and sound quality. Once you’re ready, hit record and start filming.
Step 3: Choose the Right Video Editing Software
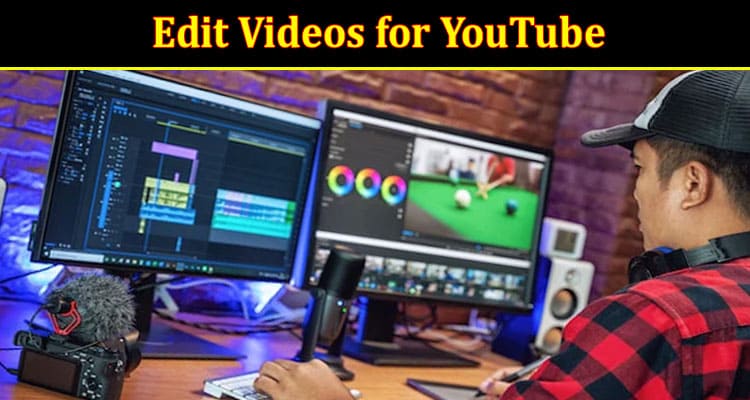
Once you’ve recorded your video, it’s time to start editing it. There are many video editing software options available, ranging from free to paid. Some popular options include Adobe Premiere Pro, Final Cut Pro, and Wave.video. When choosing a video editing software, consider the features you need and your level of expertise.
Step 4: Import Your Footage
The first step in video editing is to import your footage into your editing software. This can be done by connecting your camera or SD card to your computer or by transferring the footage to your computer. Once the footage is imported, it’s time to start editing.
Step 5: Organize Your Footage
Before you start editing, it’s important to organize your footage. This can be done by creating folders for different scenes or shots. By organizing your footage, you’ll save time and be able to find the footage you need more quickly.
Step 6: Trim Your Footage
Once your footage is organized, it’s time to start trimming it. Trimming involves removing any unnecessary footage and ensuring that your video flows smoothly. You can trim your footage by selecting the clip you want to trim and using the trim tool in your editing software.
Step 7: Add Transitions
Transitions are an important part of video editing as they help to create a smooth flow between different clips. There are many different types of transitions available, including fades, wipes, and dissolves. When adding transitions, consider the mood and tone of your video.
Step 8: Add Music and Sound Effects
Music and sound effects can help to enhance your video and create a more engaging experience for your viewers. There are many different sources for music and sound effects, including free and paid options. When choosing music, consider the tone and mood of your video.
Step 9: Add Text and Graphics
Adding text and graphics can help to clarify your message and make your video more engaging. You can add text and graphics using your editing software’s text and graphics tools.
Step 10: Color Correction and Color Grading
Color correction and color grading are important steps in video editing as they help to ensure that your video looks professional and visually appealing. Color correction involves adjusting the color balance, exposure, and contrast of your footage. Color grading involves adjusting the color to create a specific look or mood.
Step 11: How to Rotate Video Online
If you have a video that was recorded in the wrong orientation, you can easily rotate it using an online video editor like wave.video. This popular online video editing service allows you to rotate your video quickly and easily, as well as make other adjustments to your footage. To rotate your video using wave.video, simply upload your video, select the “Rotate” option, and choose the orientation you want.
You can also use wave.video to trim your footage, add text and graphics, and apply filters and effects. With its user-friendly interface and powerful editing tools, this video editor is a great option for content creators looking to edit their videos quickly and easily.
Conclusion
In conclusion, editing your videos for YouTube requires careful planning, attention to detail, and a creative eye. By following the steps outlined in this article, you can create high-quality videos that will engage your audience and help you build a following on YouTube. Remember to choose the right video editing software, organize your footage, trim your footage, add transitions, music, and sound effects, and consider color correction and color grading.
Don’t forget that you can also rotate video online if needed to make your videos look more professional. With these tips in mind, you’ll be well on your way to creating engaging and informative videos that will attract and retain viewers on YouTube.